Concrete Resurfacing in a Commercial Setting
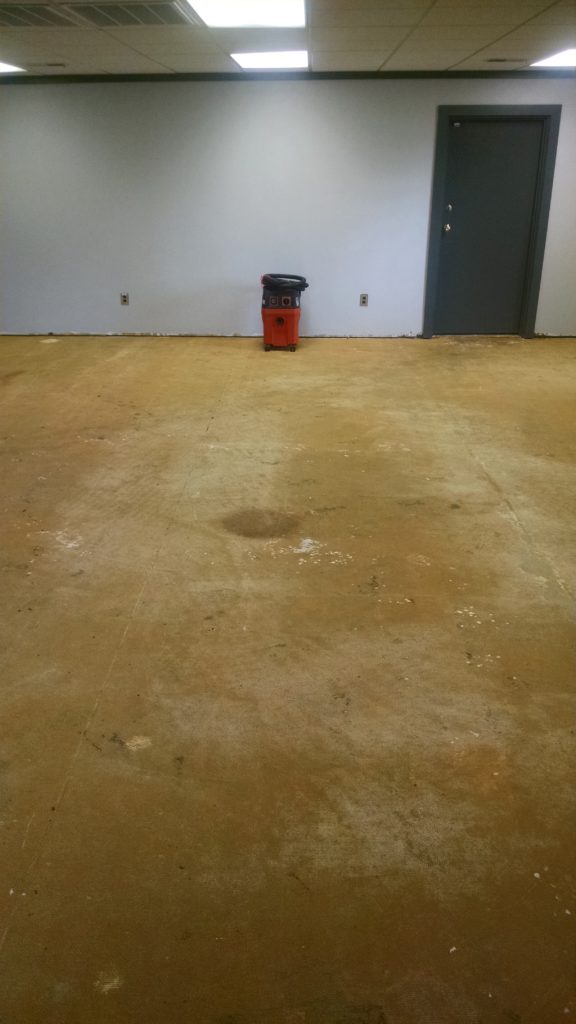
Concrete restoration isn’t something I do often. But the opportunity arose to resurface the flooring in a commercial plant and I took it. Approximately 2,600 square feet of front offices, conference room, restrooms, and hallways. The stone had been covered by carpet and/or tiled over.
The client and building owner wanted a surface that could be easily cleaned due to solvents and oils in the main plant area being tracked in to the office area and that would be durable and look nice. The offices would be full of workers including on weekends. The client wanted to be able to complete the work in sections so that business could carry on with limited down time. Not my usual work environment! I would also be working with another contractor (we’ll call him “Kevin”) to remove the existing carpeting, tile, and baseboards. What remained on the concrete was a thick layer of mastic.
Procedures for Concrete Restoration
Originally the client wanted a high-polished finish in the natural color but decided to go with a satin finish for safety. So the procedures were adjusted to produce the desired results with a lower shine and more traction.
The first thing was to remove all the mastic with floor machinery equipped with a specialized mastic-removal grinding tool and use hand machinery to remove the mastic from along the edges and in the corners. Next I mechanically wet-sanded the cement floor with multiple grits of diamond abrasives (30 – 400 grit) and applied Prosoco Hardener/Densifier during the grinding process between 200 and 400 grit and allowed it to cure for durability and shine. After the grinding processes I applied a coat of Prosoco SurfaceGuard Sealer and allowed it to cure. The final process was to burnish the stone with diamond impregnated pads to clarify and even-out the appearance of the concrete.
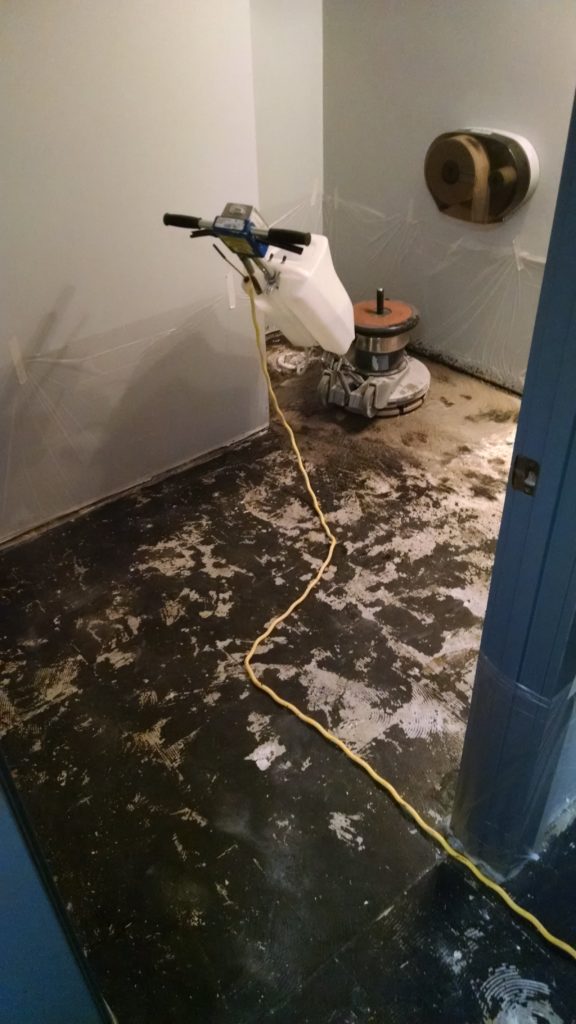
I recommended that the toilets and vanities be removed from the restrooms before the restoration. This allows the machinery to operate properly and requires less hand work resulting in a better final product. As you can see in the above photo, I always tape and protect the walls before doing the grinding process. Water is used during the grinding process to reduce dust. This minimizes clean up and protects the client’s property.
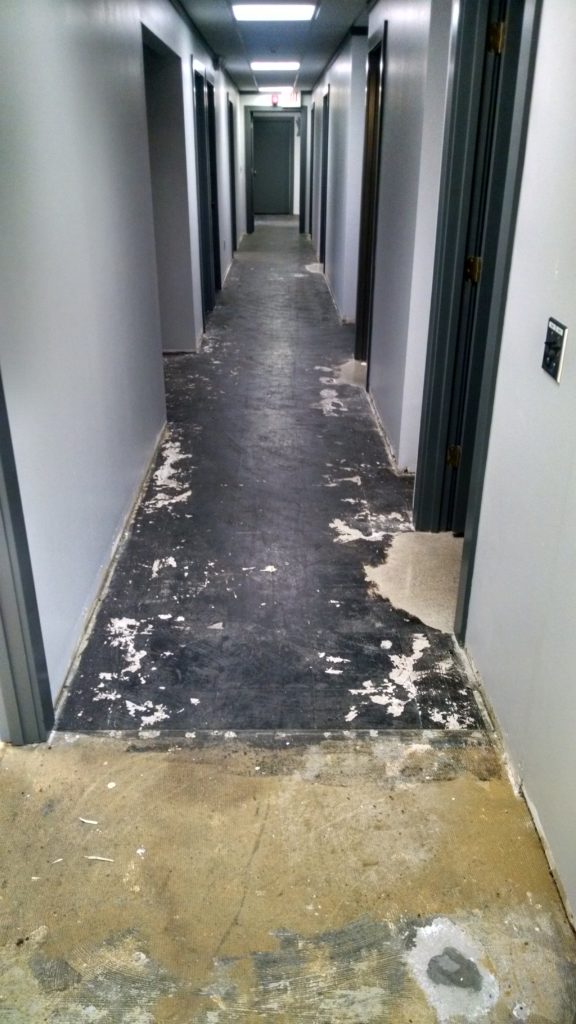
These types of restorations can be tricky because you don’t know what is underneath the existing surfaces until they are removed. In that case I have to make sure that the client knows that any holes, cracks, and/or heavy staining may not be included in the price.
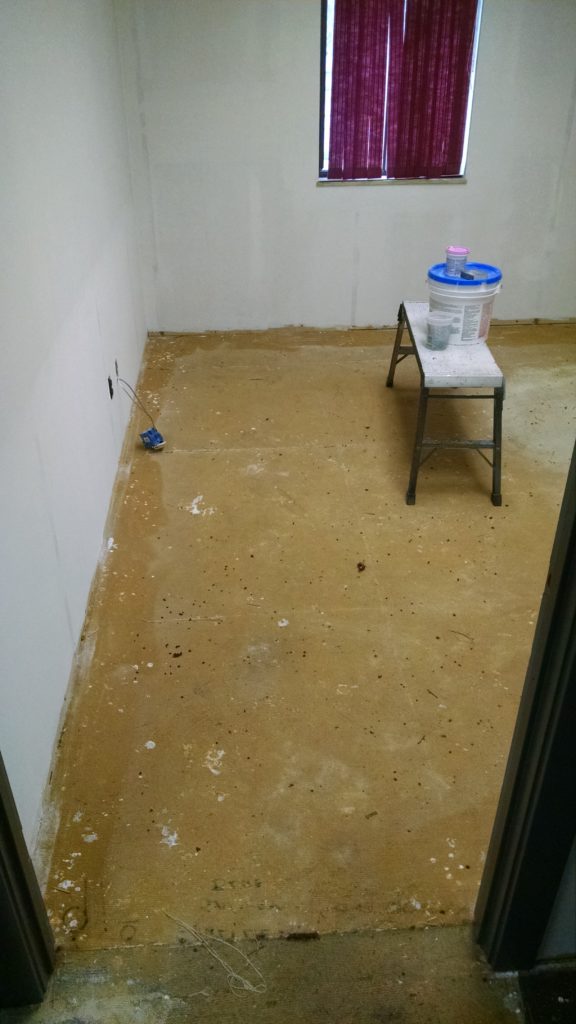
This is still a work in process. So far I am about half way through the offices and have been on the job on/off for about 2 and a half weeks. Another 2 weeks or so and I can call it complete.
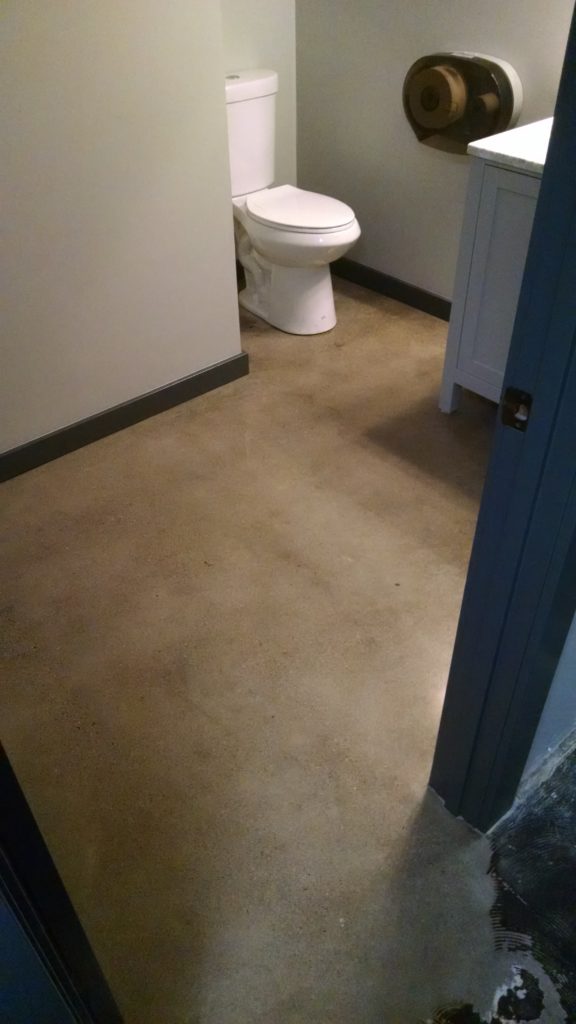
In the pictures you can definitely see where I have completed the resurfacing and where I have yet to finish!
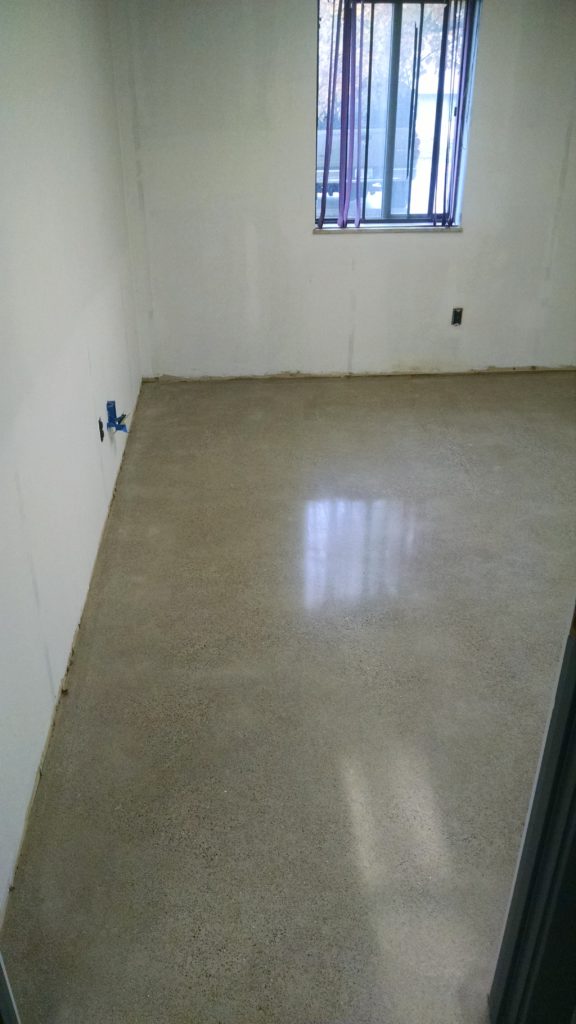
All we need here is for Kevin to install the baseboards and it’s back to business.
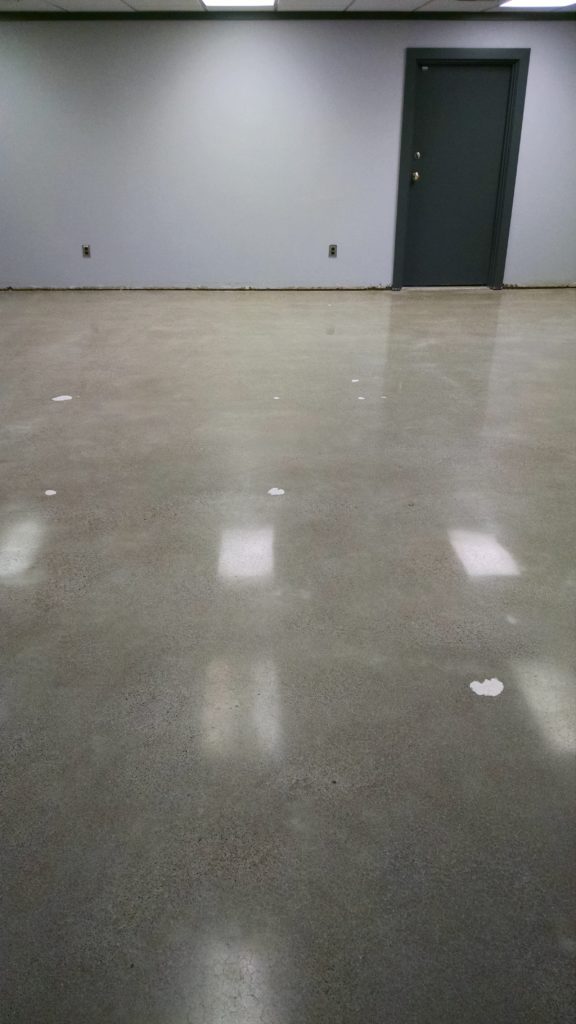
The final finish has a low shine but provides better traction for workers. There a some patches from cubicle walls that can be stained to match the concrete.